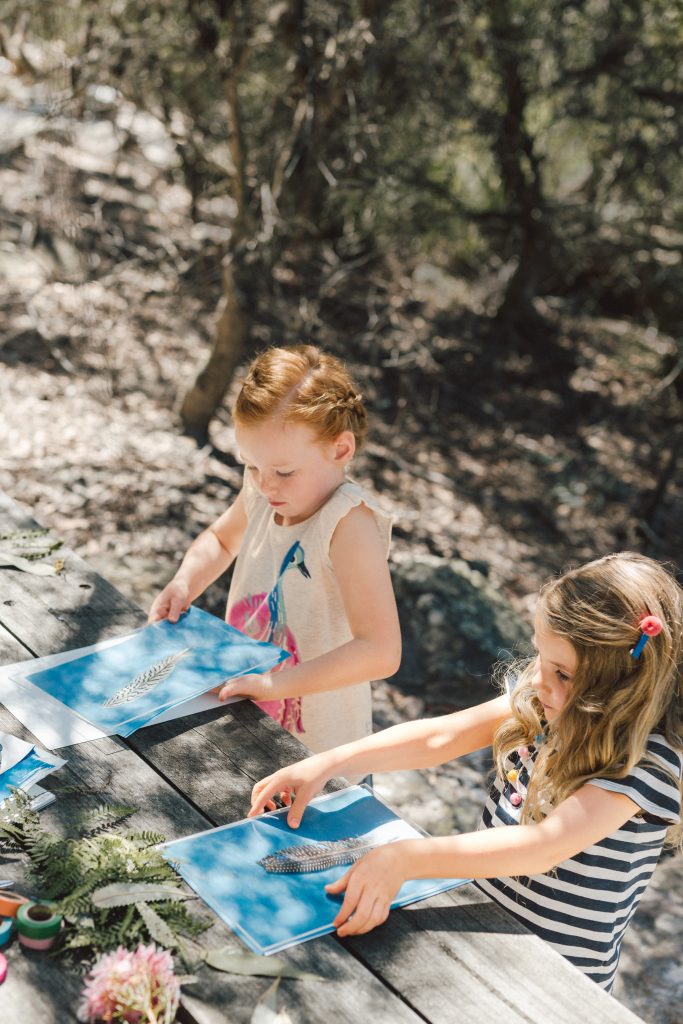
 Curiosity is a way of life. One of the biggest wonders of travel is the constant sense of discovery—and we love exploring and discovering with kids. On our catalog shoot in the Walkabout Wildlife Park an hour north of Sydney, we helped our friends learn how to make DIY sunprints. This easy, and inspiring, diy project can be made with anything you can find outside. Learn how you can make a sunprint too, at home with just a few supplies.
WHAT YOU’LL NEED FOR YOUR DIY SUNPRINT
- Sun Art Paper kit (like this one!) OR sun print sheets
- A piece of square Plexiglas
- Flowers, leaves, feathers or anything you want to make into a print. Flatter objects work best
- A square of cardboard
- Binder clips
- Sunlight!
DIRECTIONS
- On a sunny day, bring you’re little ones into the backyard and have them gather objects with interesting shapes. This could be flowers, leaves, grass, feathers… anything relatively flat.
- Lay the objects in between the pages of a heavy book to flatten them out even more, while you get the other supplies ready.
- In a room with little to no light, place a sheet of paper on the cardboard. Arrange your gatherings on the paper as you would like them to appear on the print.
- Place the Plexiglass on top of the arrangement to keep it in place. Attach the binder clips along the edge to hold it together. (Note: the binder clip will show up in your design. You can simply trim the edges of the paper to cut it out of your design)
- Take the tray outside and expose it to light and wait 1 – 5 minutes depending on how sunny it is. You will notice the color of the paper will begin to change.
- Remove the binder clips, Plexiglass and shake off the gatherings.
- Take your paper and rinse it with a hose or in your sink to stop the chemical reaction. The colors will become more prominent.
- Lay the paper out on a paper towel or hang it from a clothesline until dry!


