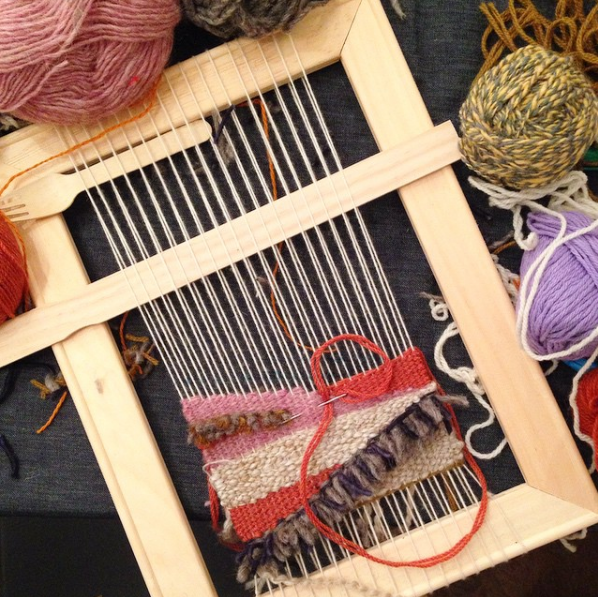
The traditional craft of South American weaving has been passed down through generations of descendants. Today, the tradition lives on throughout Argentina and Bolivia… and the world! During our travels, we’ve seen hand-woven pieces in many countries. Our designers right here in San Francisco even do it as a hobby. Want to know how you can make these in your home? Follow our steps below to create your own hand-woven piece of art, DIY gift toppers and ornaments, just in time for the holidays!

First thing’s first… buy a loom kit. We are fans of the Hardwood Easy Peg Loom Kit, which is also great for kids. It includes yarn to get you started, but you can always go to your local craft store to pick up yarn that better suits your project. A small loom will provide the perfect sized pieces for you to decorate holiday gifts, coasters or art to hang on your wall. The best part of it is, your little citizens can use their imagination to create a one-of-a-kind designs too!
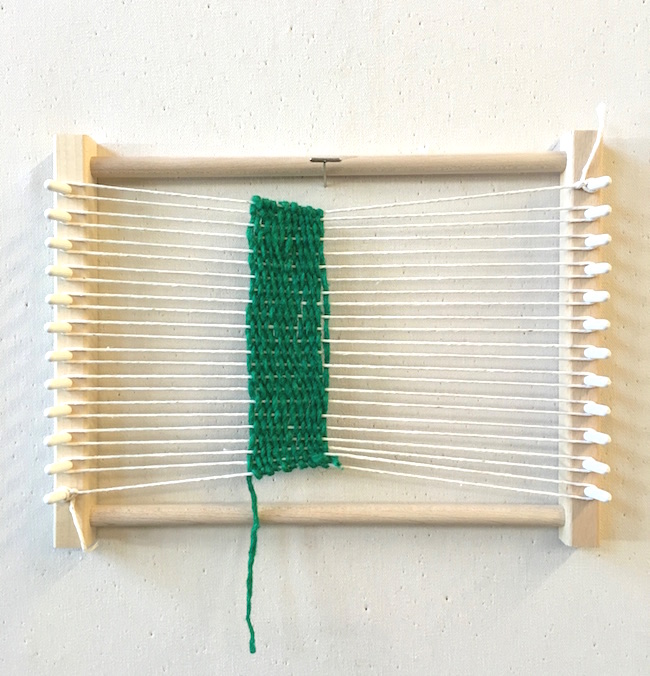
Time to get started on your DIY hand loom design. First, wrap your loom. Using cotton string, tie one end to any corner peg and loop this string around each peg, keeping the string tight… up and down and up and down until you’ve reached the last peg on the opposite site. Tie the string tight around the last peg and cut string, leaving two or three inches. To get the look of the designs in our catalog, use colored yarn for your warp. To create narrower designs, you don’t have to warp the entire loom.
Next, thread your needle. You can use one piece of yarn or you can weave with the yarn doubled — this will speed along the process. Now, you’re going to weave! Start on one side, going over and under the wrap thread until you’ve reach the other side. Repeat this process to get back to your starting side. Here you have your first two rows!
Following our prop stylists, after we weaved 10-12 rows, we pushed the section closer to the middle of the loom and spaced out the rows a bit for a more organic feel.

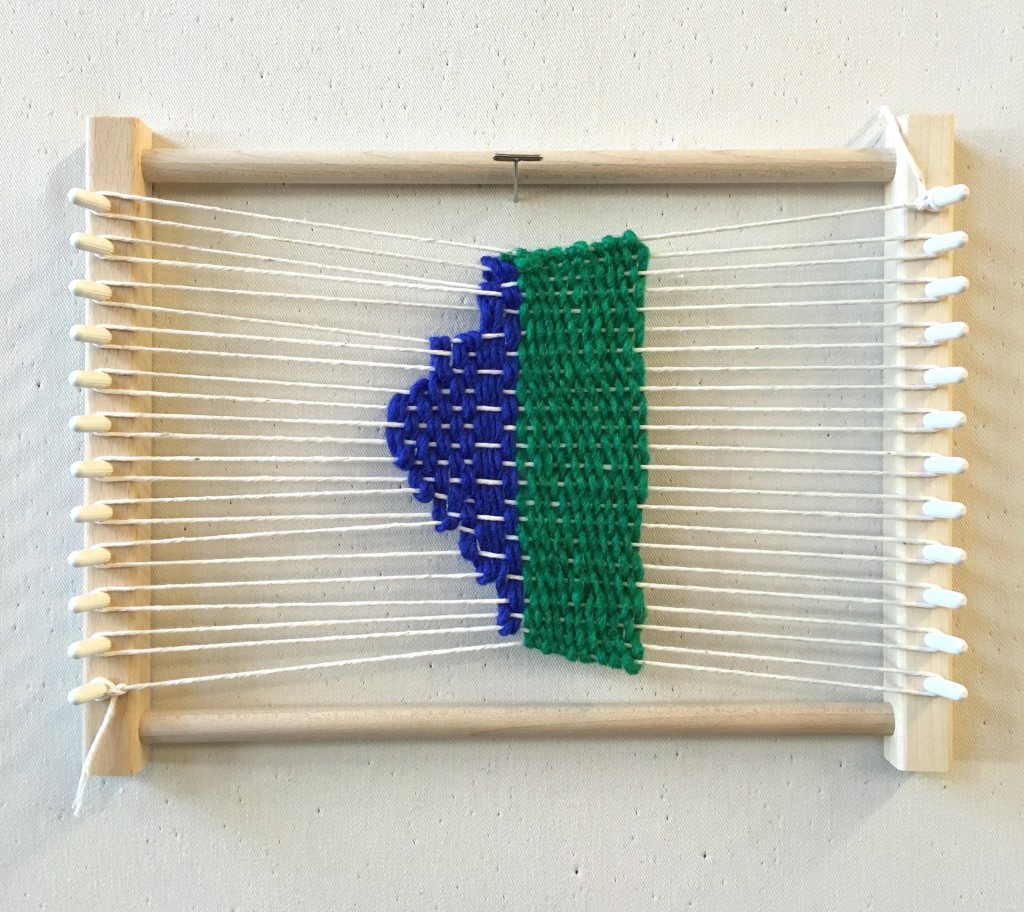
Here is where you can get creative (if you haven’t already!). Using a new color of yarn, begin your next section above or below the first section. We used a double threaded yarn for this step and began skipping 2, 4, 6 on the warp on each side, creating a triangle shape (Hey! It’s close to a triangle…).

Because we have the patience of our 3 year old, we decided that this would be our finished product. We unwrapped the loops on either side of the loom and covered a gift with the design. The gift was wrapped in craft paper, so the pop of color was a nice contrast.
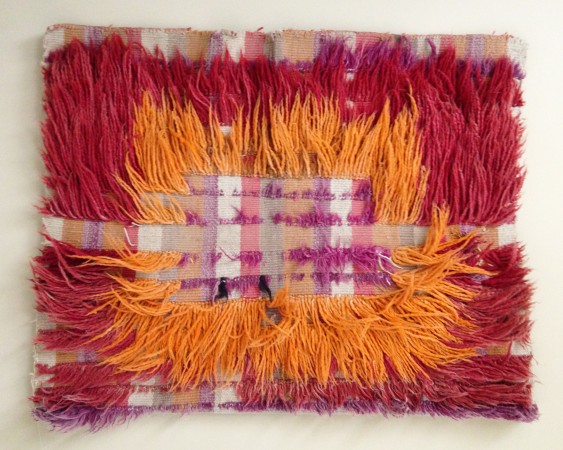
What kinds of designs can you create with a little more patience? We went to Amber, one of Tea’s in house artists to answer the question…

How amazing are her designs! What will you come up with? We can’t wait to see…


