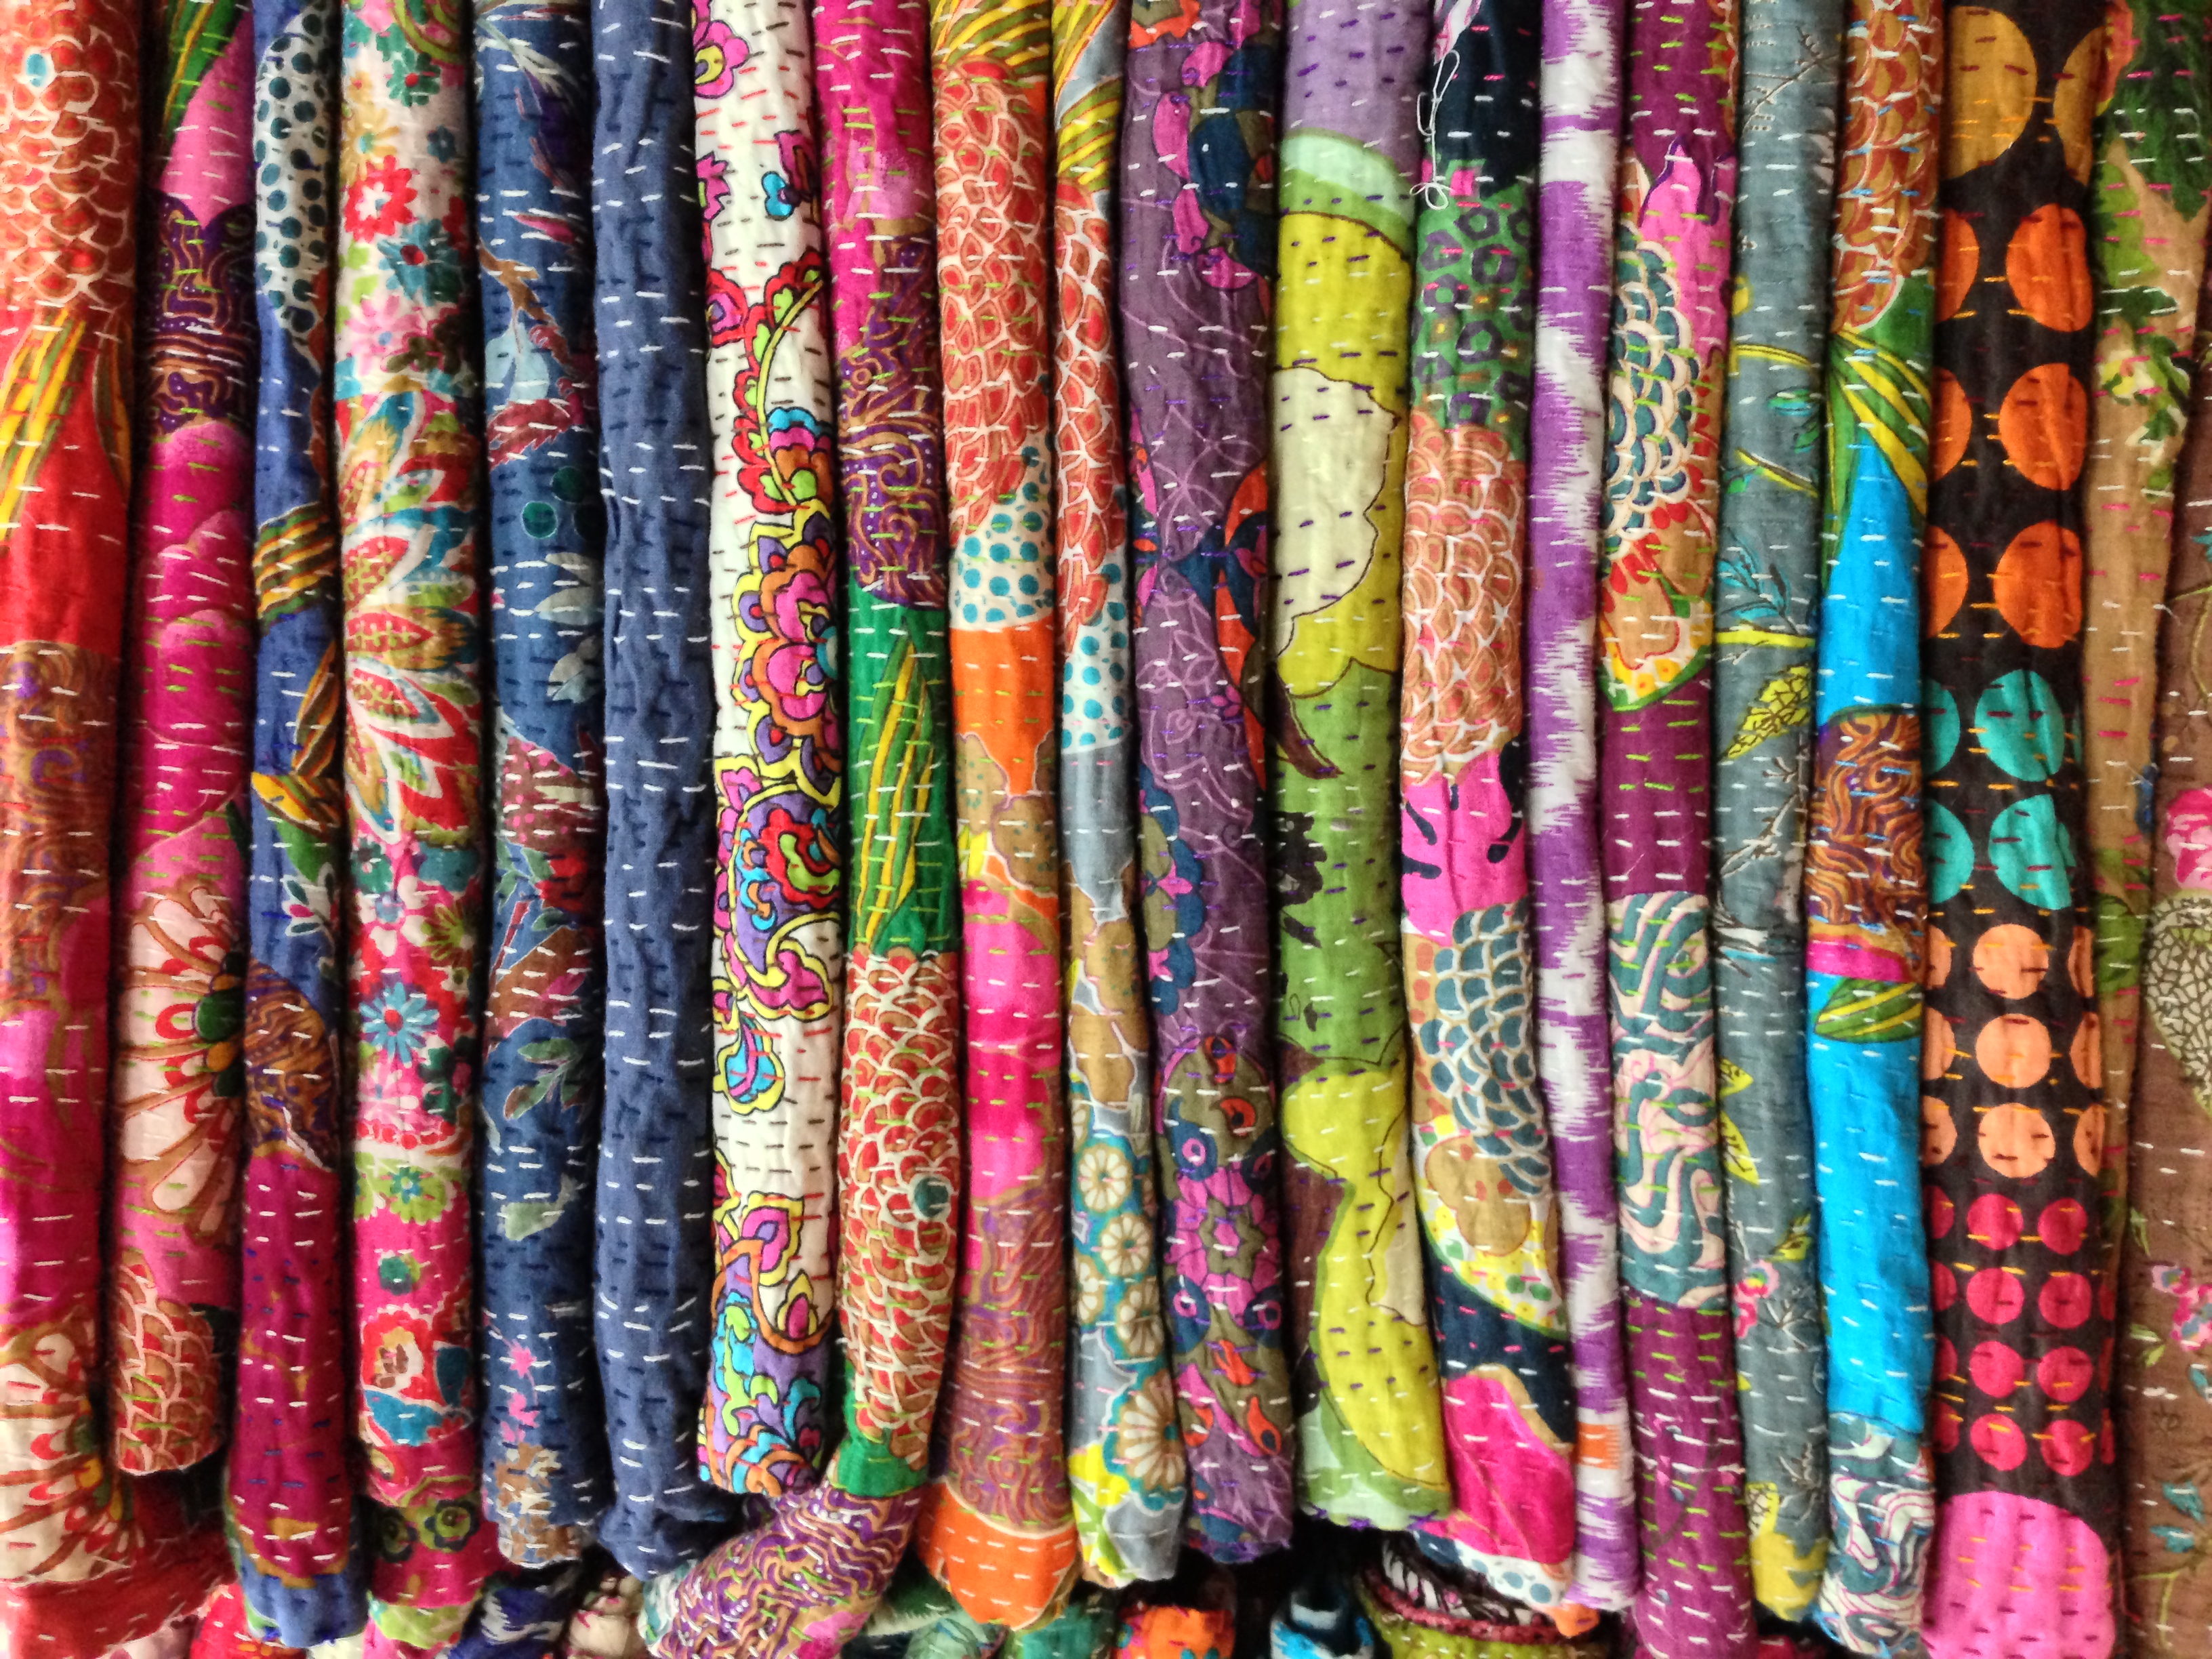
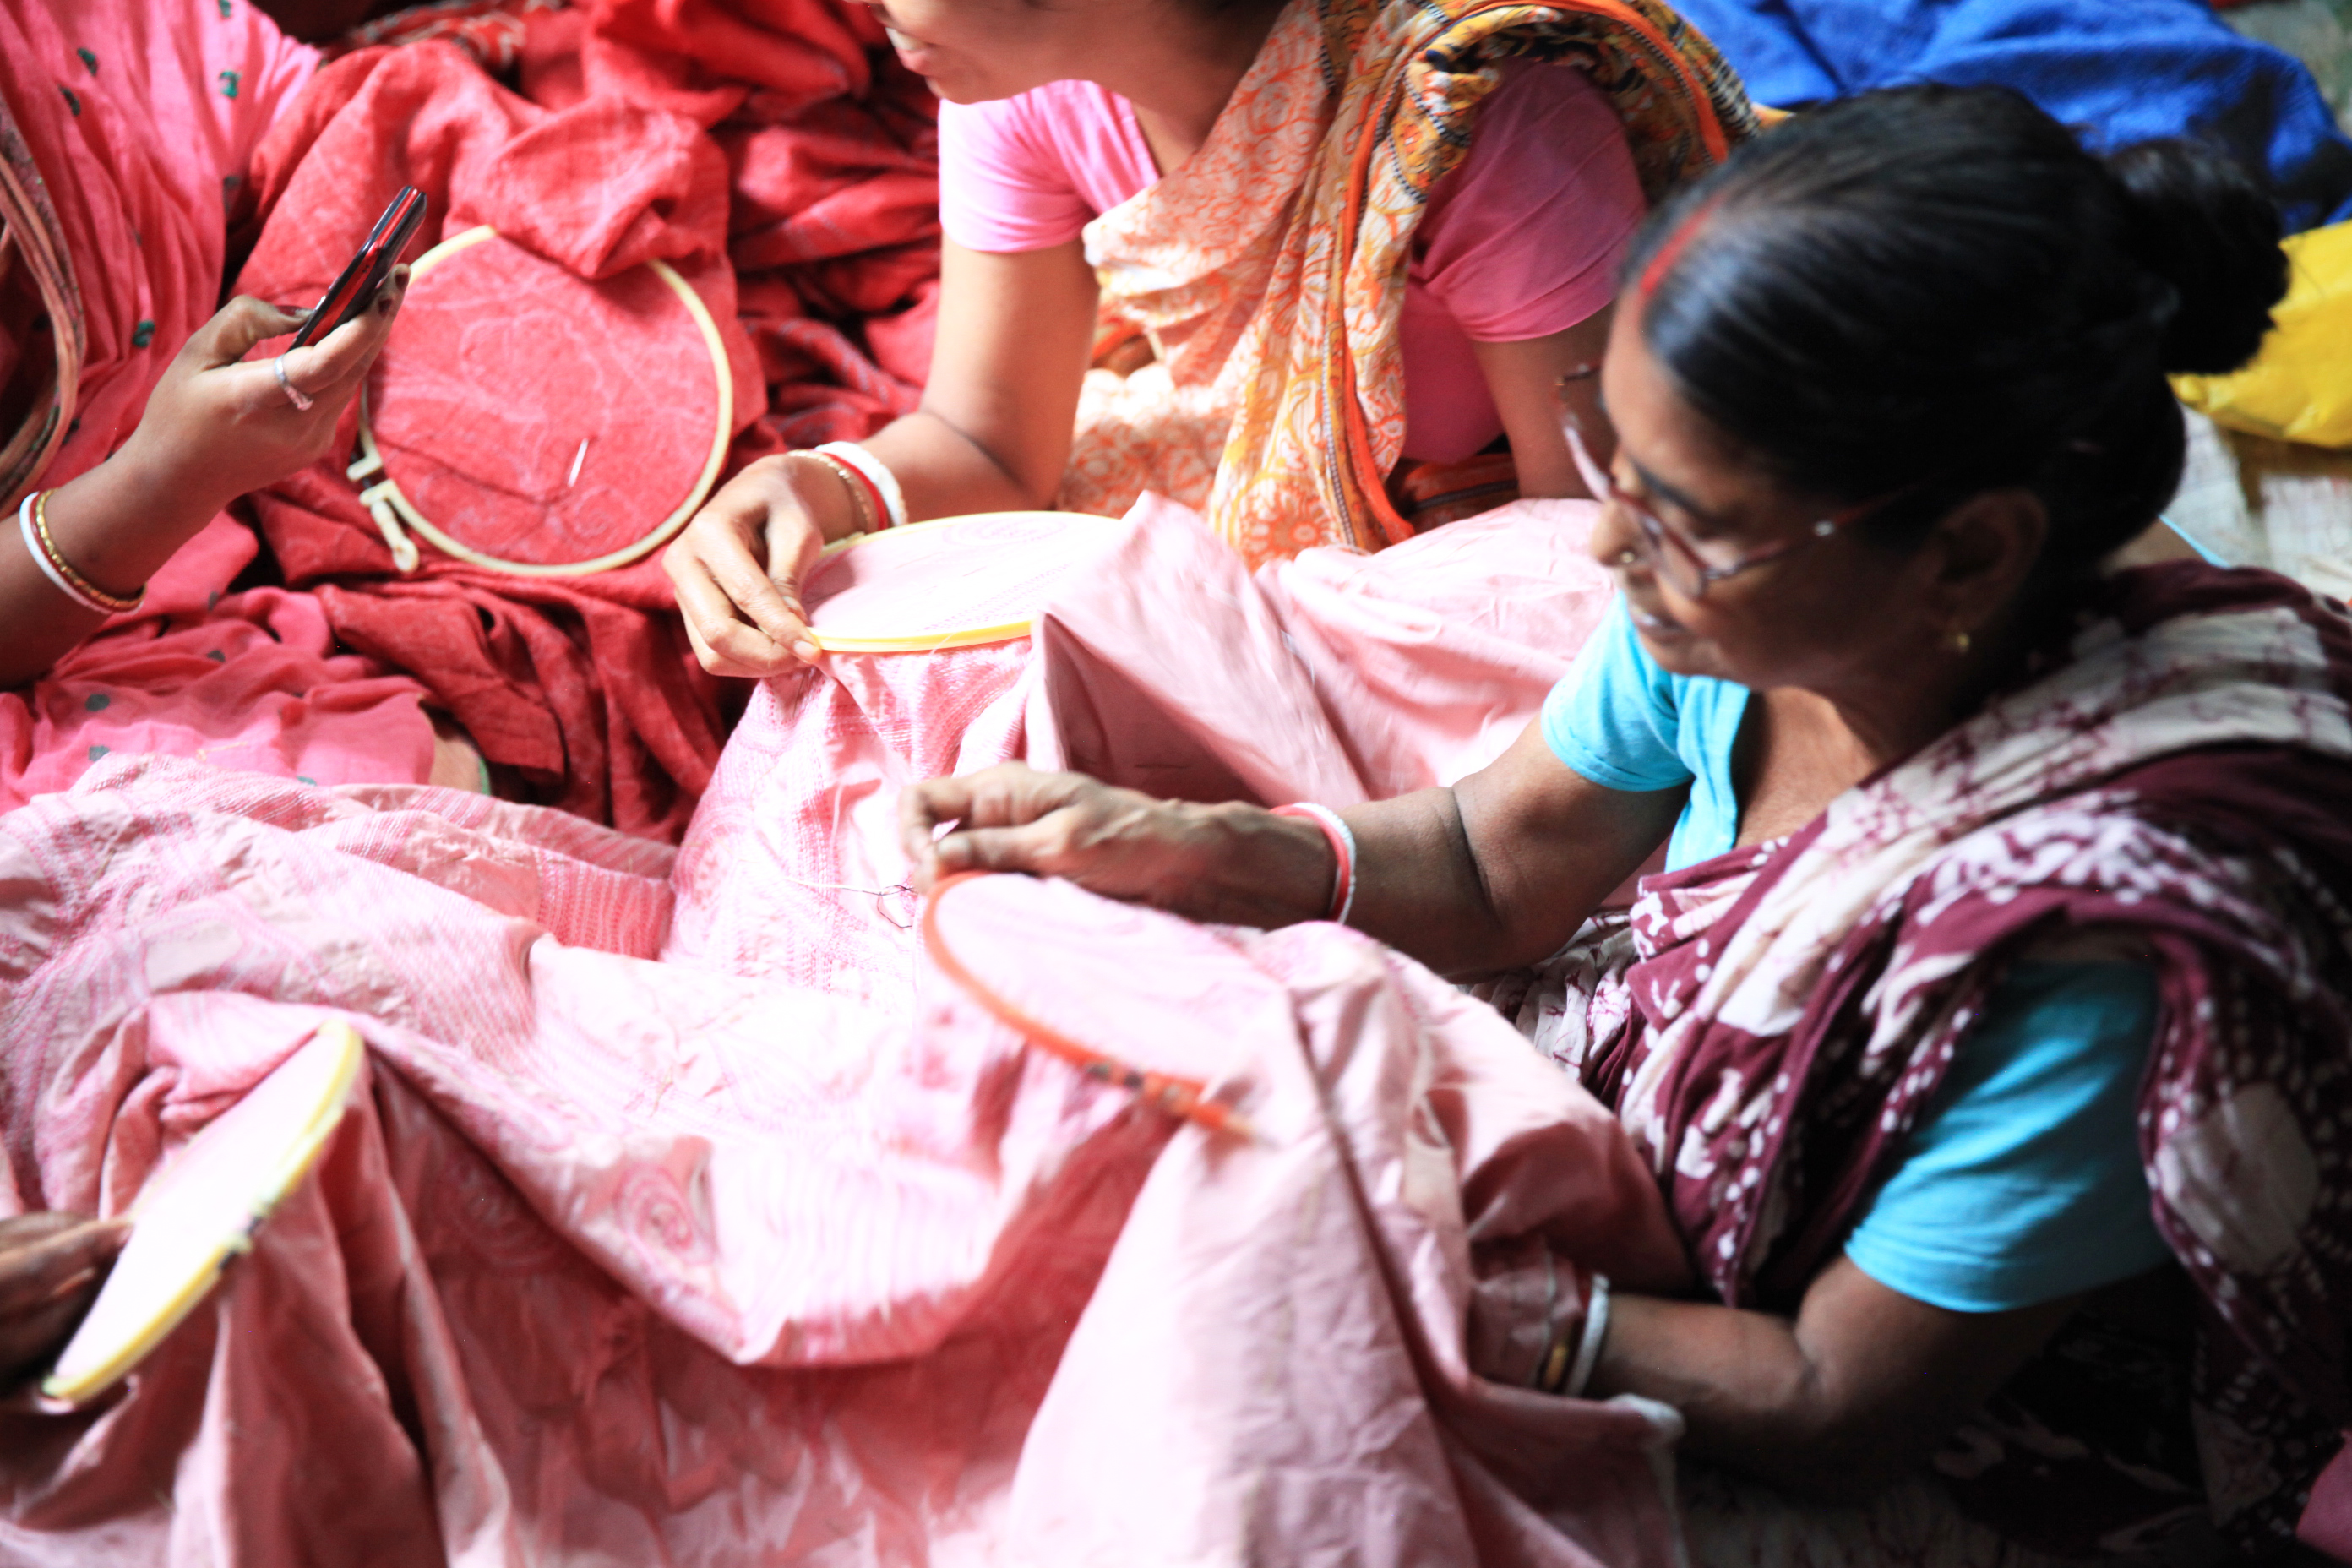
 In the Bengali region of India, it is a tradition for a grandmother to make each of their grandchildren a kantha quilt. The quilt is made out of three layers of fabric most commonly, strips of worn sari’s because the material is super soft against the babies’ skin and perfect for nap time or cuddling. The tradition of the kantha quilt is a way of connecting with family, even after the grandparents are gone. It is such an important tradition that the grandmother’s will make extra kantha quilts so that if she passes away before all of her grandchildren are born, they will still have a quilt.
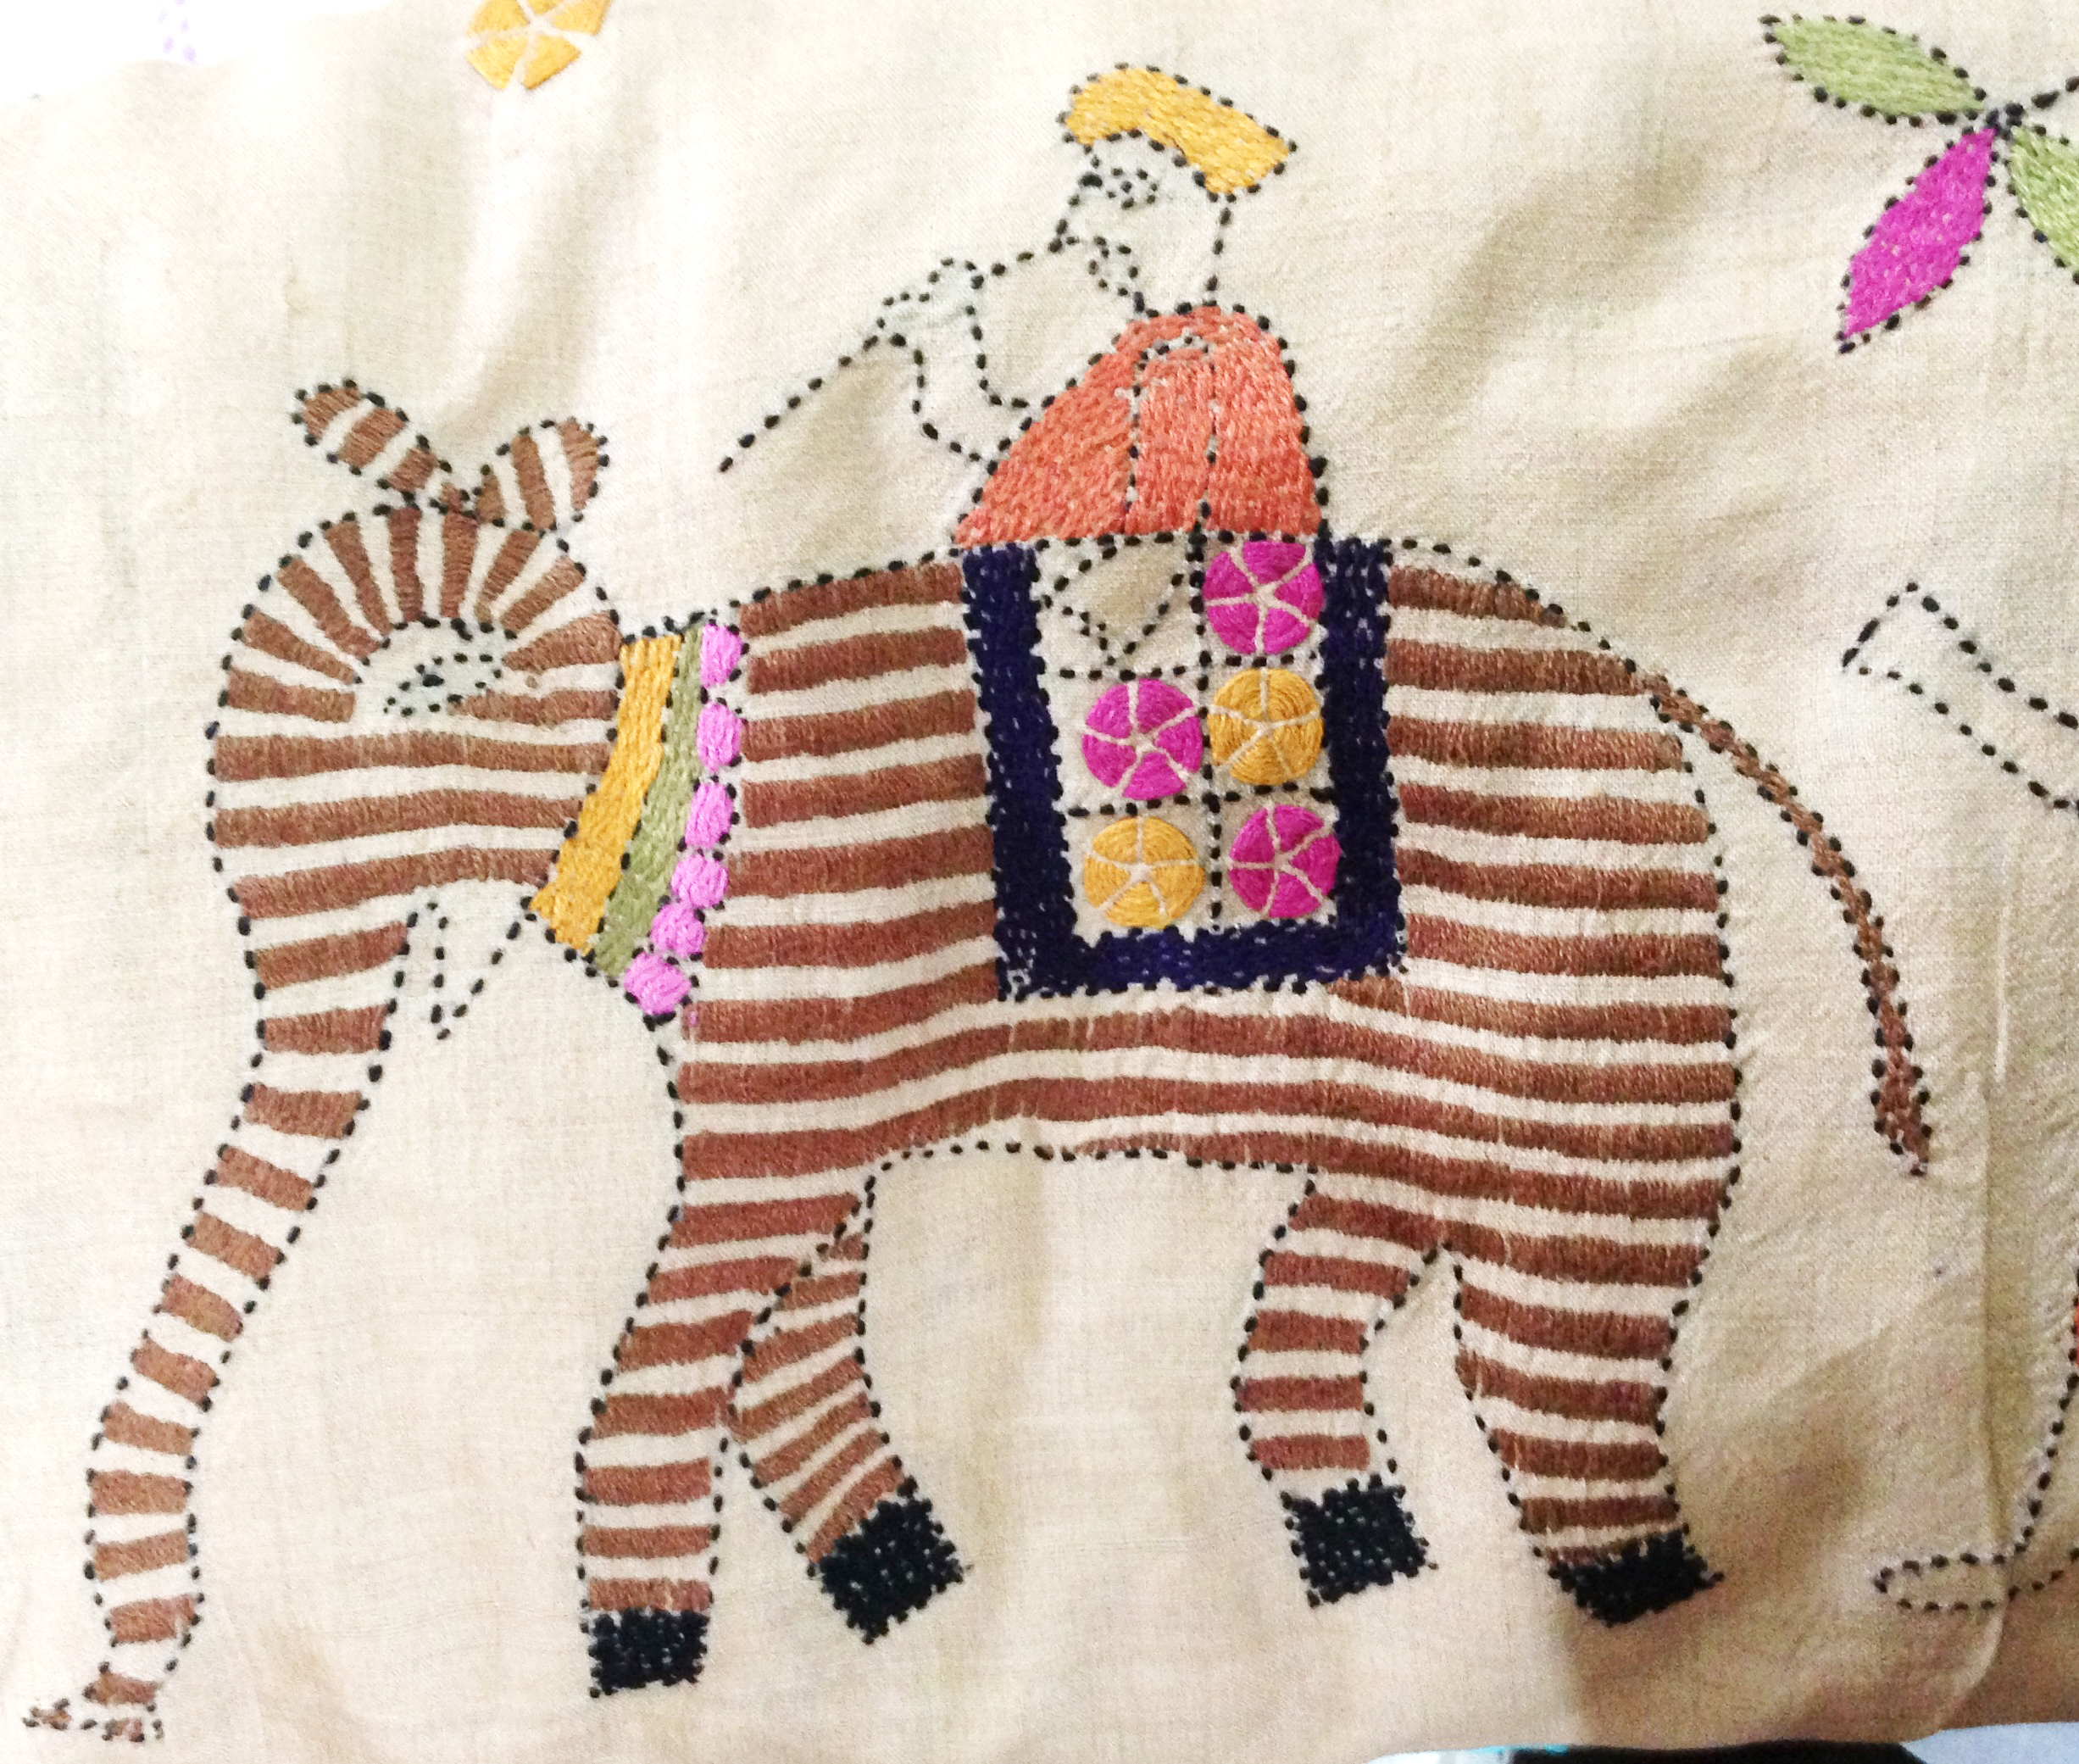
On our trip to India, we had the pleasure of visiting an award winning kantha artist Mahamaya Sikdar and learning about the art of kantha. We love this idea of celebrating artistry and the connection between grandmother and grandchildren. The kantha stitch is often referred to as a “running stitch’ and it gives the wavy, textured quality. We used this type of stitch on some of our pieces in our India collection.

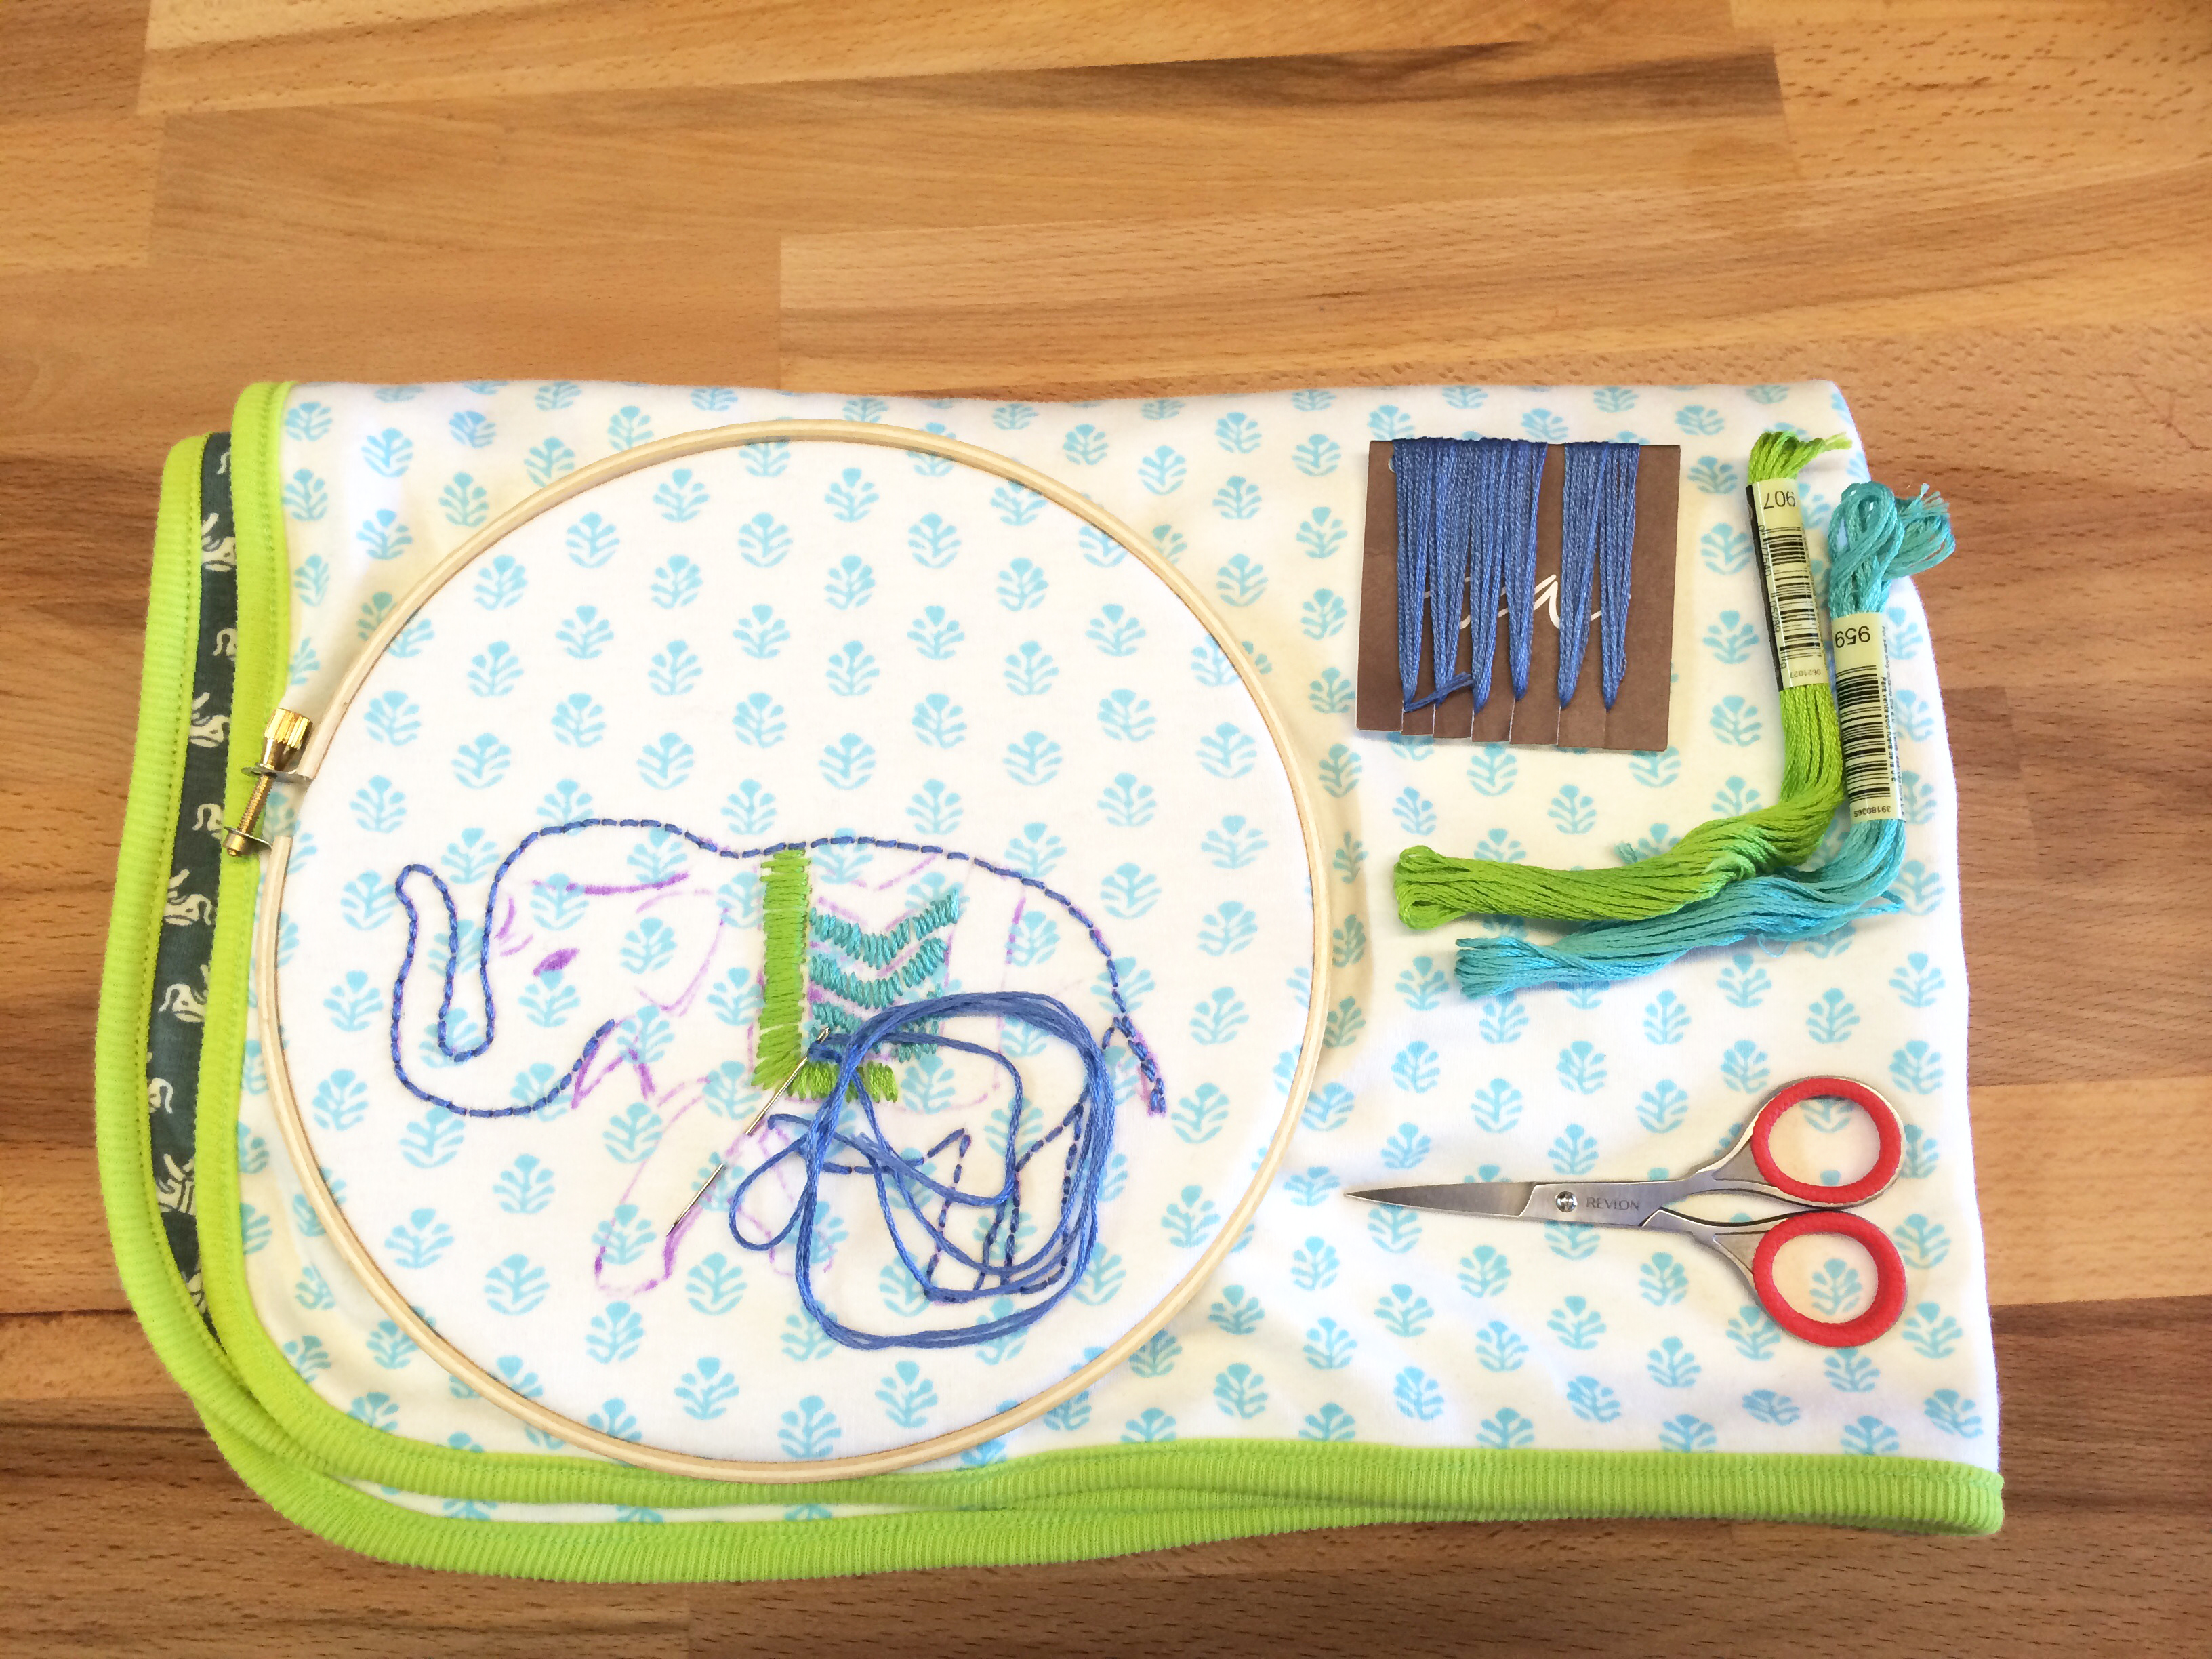
Here, you can see a demonstration of the kantha stitch on one of our baby blankets, with an elephant design inspired by the kantha elephants we saw on our trip!
MATERIALS
– Baby Blanket (we used our Amer & Smyan’s newborn blanket)
– Scissors
– Wooden embroidery hoop
– Vanishing Fabric Marker
– Embroidery thread
– Needles (we recommend regular needles with big eyes, they are harder to thread then embroidery needles but leave smaller holes in your fabric)
– Scrap fabrics that match (or mismatch) with your blanket [optional]
– Follow this link to print your elephant stencil

INSTRUCTIONS
– Iron or wash out any wrinkles out before starting as its hard to iron once you have started the embroidery.
– Sketch out the design you want to embroider with the washable marker on the blanket or fabric, or print out our elephant graphic, cut out the black areas and stencil it on to the blanket.
– Attach your embroidery hoop to the area you’d like to embroider. Place the inner ring under the front side of the area you want to stitch on. Loosen the tension of the outer ring and place that on top of the inner ring, so your fabric is stretched tightly. Then tighten the adjustment screw to hold in place.
– Begin with the color you have chosen for this particular section you are working on, you can switch colors when needed.
– While true kantha uses a strait stitch, there are many varieties you can use such as split stitch, back stitch and french knots. For our embroidery, we used a back stitch. Thread your needle with your selected thread, tying a knot at the end. Begin by poking the needle down into the fabric, over about a quarter inch, and back up again.
– Pull the thread taut so that the knot lies against the fabric. Poke the needle down by the knot then over and up a quarter inch to the left of the previous needle up position and pull the thread taut again. Repeat.
– To switch colors or work in a different area of the sketch, simply end the stitch and tie a knot underneath the fabric. Then re-thread with the next color and start in the new area, working with the same running stitch.
– Once you have embroidered the whole section, tie off the stitch, remove the hoop and you are done!


