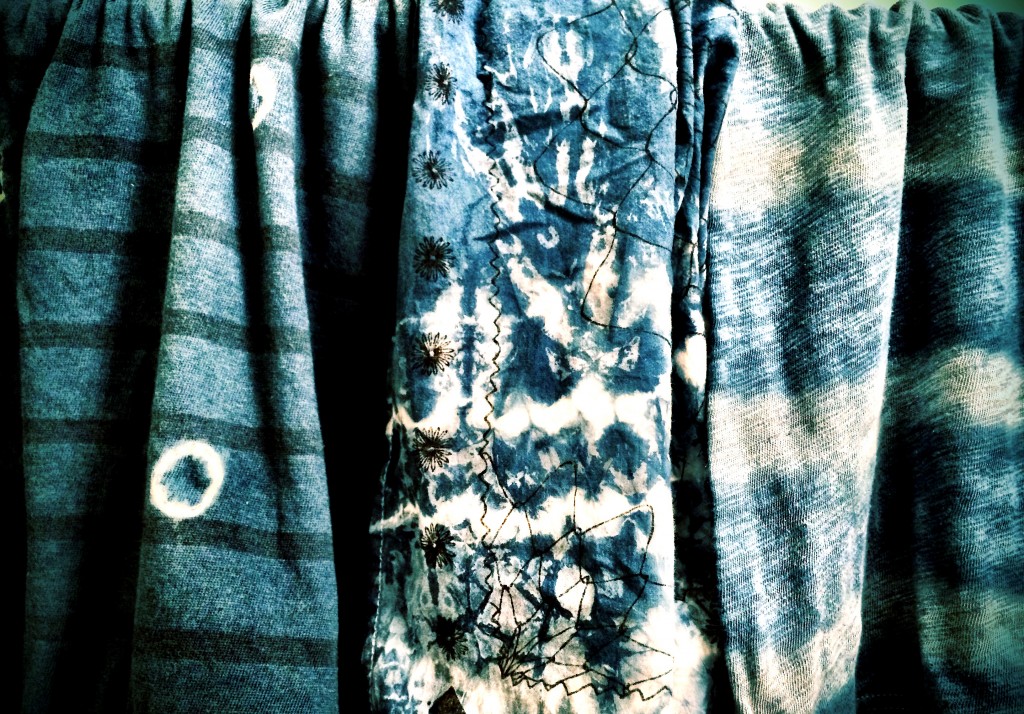
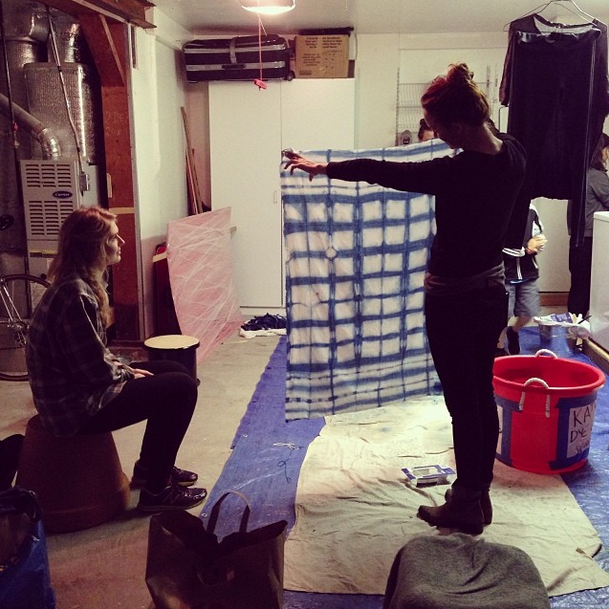
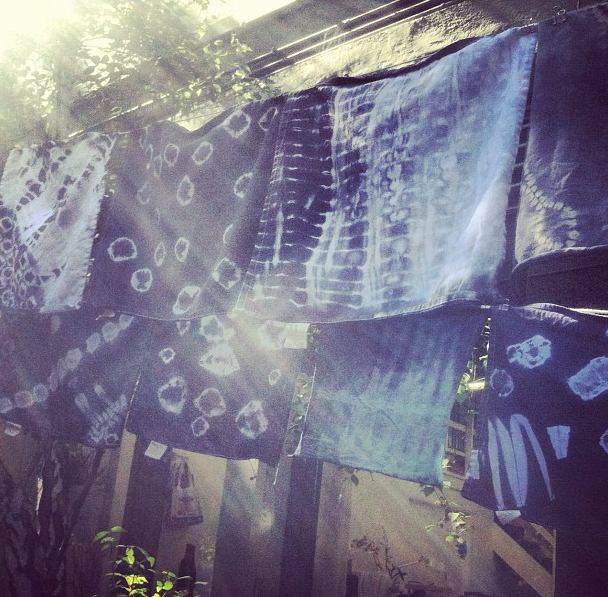
We love learning different ways of designing textiles. We feel deeply connected to the ancient Japanese dye technique called Shibori. Shibori comes from the Japanese verb root shiboru, “to wring, squeeze, press.” Dyeing cloth with a Shibori technique requires folding, crumpling, stitching and twisting the cloth to create the design pattern you hope to achieve. What we all love about the Shibori technique (besides the lovely Tea favorite indigo hue!) is the mystery around the process – you never know what type of design you have made until it is done. Learn how to make your own shibori dyed fabrics below!
What You’ll Need:
– An indigo dyeing kit like this one or indigo dye, wood blocks, rubber bands and rubber gloves
– T-shirts, cloth napkins, towels or any other fabric you wish to dye. Cotton responds best to dye.
– Two large containers, one for the dye, one for water.
– Newspaper or plastic to protect the surfaces around you
Instructions on Binding:
– Arashi (which means storm in Japanese) shibori a pole-wrapping technique. The cloth is wrapped on a diagonal around a pole or cylindrical object and then tightly bound by wrapping thread up and down the pole. Next, the cloth is scrunched down on the pole and you follow through the dye process. The patterns that you get are on a diagonal in arashi shibori which suggests the rain from a heavy storm
– Kumo is a twist and bind technique that involves wrapping sections of the loth over small stones or pebbles and securing tightly around the rock with a rubber band. Do this over and over again in a tight area, very close to each other. The patterns you get are circular spider like designs.
– Itajime is a shape-resist technique. You fold your cloth in an accordion so you are left with a stack of squares. Sandwich the fabric between two flat pieces of wood and secure tightly with rubber bands. The shape of the wood square prevents the dye from penetrating the fabric and creates many different patterns depending on the placement of the rubber bands.

Instructions for Dyeing:
– Mix your dye in a large plastic container. If you are using a dye kit, follow the instructions.
– Next, soak your folded and bound fabric in water, then squeeze it out.
– Gently submerge your fabric in the dye, it will want to float so make sure to use pressure to keep it submerged (but avoid resting it at the bottom of the bowl where the sediment may have collected). Leave it submerged for 10 mins, or longer if you want a more saturated color.
– Remove the fabric from the dye. You will notice it will be a yellow-green, not indigo. This is normal! Once the fabric has sat in the open air for a few minutes, it will oxidize and turn indigo. You can leave it folded or unfolded for about 20 mins while it oxidizes. If you leave it folded, the dye will bleed more and create a different pattern.
– Now, rinse your fabric in water and squeeze it out and let it dry in the sun.


